01
Protect the room
Restrict access around water, sagging finishes, falling debris, and possible electrical contact.
Safe first steps for an active roof leak
Prepare a safe roof leak incident handoff: protect occupants, record conditions from a safe location, and distinguish temporary work from repair.
Owners, tenants, managers, and facility staff facing an active leak
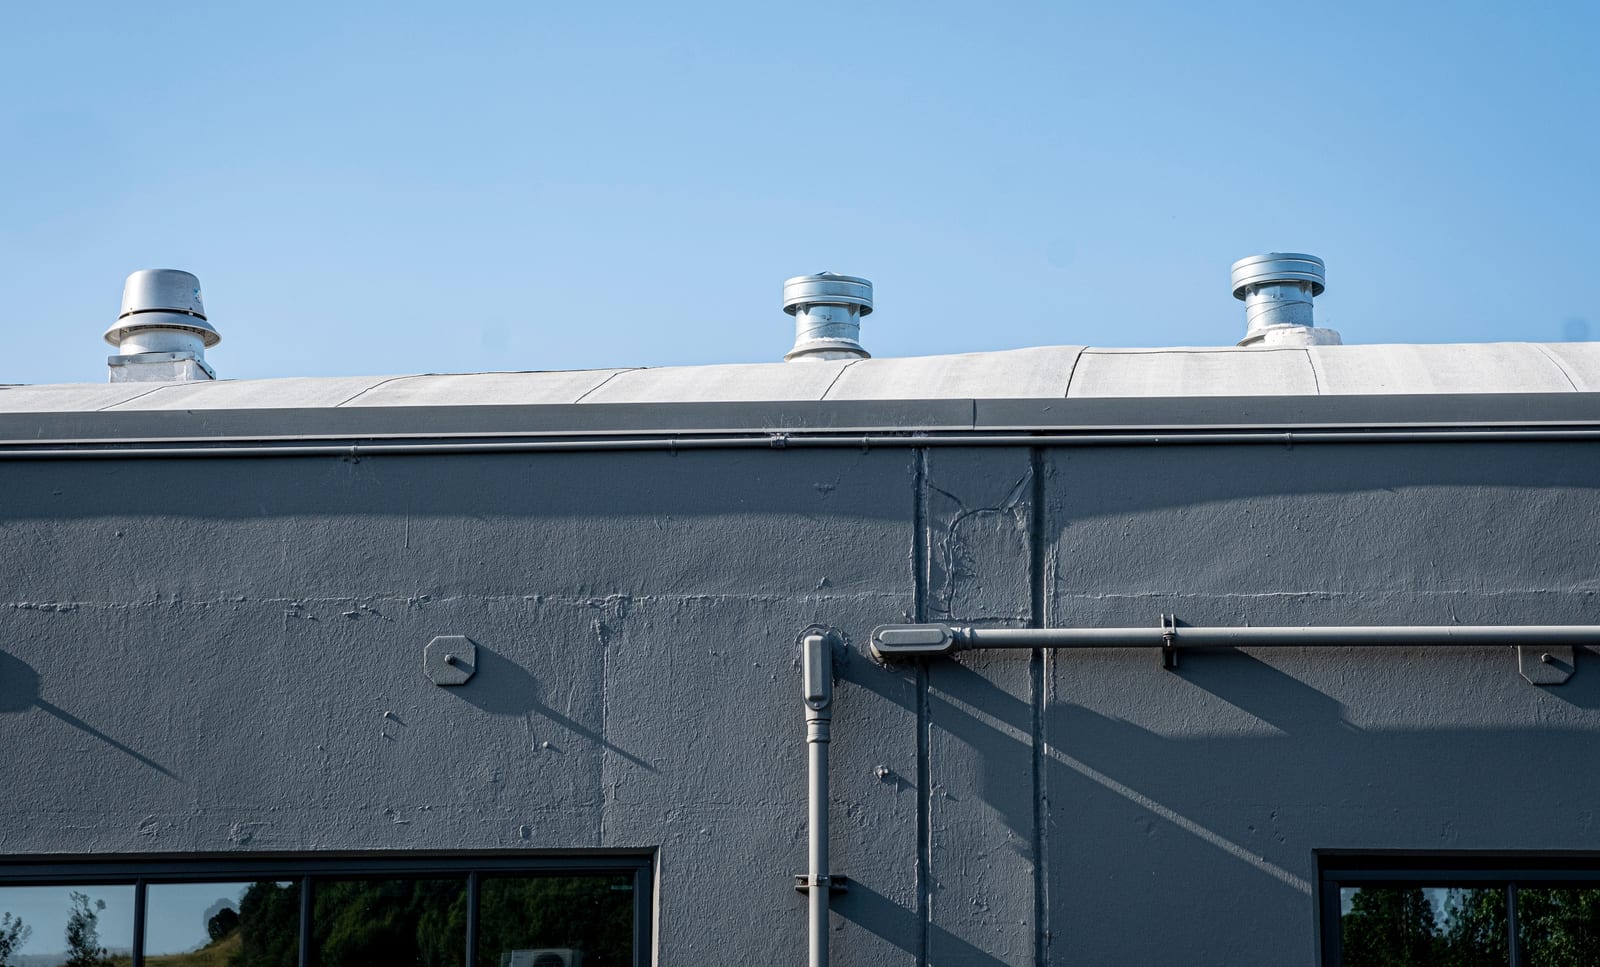
01Keep occupants away from wet and unstable areas
02Document the incident from safe locations
03Separate temporary controls from permanent repair
Decisions before work starts
An active roof leak can quickly affect occupants, finishes, contents, and electrical equipment. The first job is to control the indoor area without creating another hazard. Keep people away from slippery floors, sagging materials, and water near power. Use safe ground-level and interior photos, note when the leak started, and contact the appropriate building representative and qualified professionals. This independent guide explains the handoff from incident control to temporary roof work and then to a permanent repair proposal. It does not promise response times. Do not climb onto a wet roof, touch wet electrical equipment, or puncture a ceiling. Temporary work should be documented and clearly separated from permanent repair.
01
Restrict access around water, sagging finishes, falling debris, and possible electrical contact.
02
Contact the property authorizer, emergency services when warranted, and qualified building professionals.
03
Record who installed it, where, what it protects, its limits, and the follow-up needed.
04
Ask for the confirmed condition, repair limits, compatible materials, exclusions, and completion evidence.
Read the whole roof assembly
Use the numbered layers to compare a proposed scope with the conditions found during inspection or opening.
Identify the existing and proposed covering, repair boundary, and tie-in to material that remains.
Keep a continuous water-shedding path through laps, valleys, walls, penetrations, and other transitions.
Record exposed condition and define the approval process for concealed repair or replacement.
Use the manufacturer-approved attachment for the actual covering and site conditions; this drawing gives no pattern or quantity.
Review edge metal, drainage discharge, and fascia condition before the new covering closes the assembly.
From the roofing journal
Use a safe order of operations before temporary work becomes an undocumented permanent repair.
Read this article →A useful first conversation
Use this site's checklist to organize the facts you can safely collect. The roof assembly, concealed condition, and repair limits need a qualified professional's review.
Exact room and leak-point locations
Safe photos and short video
Print or mark items in your browser. Nothing is submitted.
Go one layer deeper
GUIDE / 01
Protect occupants, preserve useful evidence, and make a clear professional handoff.
Read the guide →GUIDE / 02
Prevent an emergency measure from becoming a forgotten, undefined repair.
Read the guide →GUIDE / 03
Convert emergency notes into a repair decision with defined conditions and closeout.
Read the guide →Before you approve
No. Wet roofs, edges, wind, and hidden weak areas create serious hazards. Leave roof access to qualified professionals.
No. Keep people away and call qualified help. Water, falling material, hidden utilities, and unstable finishes can make the area dangerous.
Temporary work may reduce exposure, but it needs written limits and a follow-up assessment for a permanent repair.
Provide room locations, timing, weather, photos, changes in leak rate, building access, authorizer details, and prior roof records.
Send the useful views
Start with a wide photo, a close view of the visible condition, the property city, and the repair history. Stay off the roof and keep clear of wet electrical equipment or damaged ceilings.
In the form, choose Inspection under Service needed and describe the roof condition. A request is for review; it does not confirm an appointment or authorize work.
For more than one picture, text your views and description to 619-912-0486. The form accepts one optional attachment.
When site verification is needed, AWC recommends the $250 Site Evaluation + Written Bid Package. The $250 is credited if the proposed work is approved within 30 days. Confirm the evaluation terms before scheduling.
Open the AWC request form in a separate page →
How AWC handles your request